
What you will need:
- Compatible Usb 1.1 flash drive (softmod)
- USB to controller adapter (Softmod)
- Compatible game (softmod)
When it comes to opening up the potential of an original Xbox, there are 2 routes you can take: the traditional way requires disassembly and soldering, and the softmod method that only requires a USB drive/specific game.
Personally, I recommend the former method since you will eventually have to open your Xbox if you ever want to upgrade your hard drive. The modchip makes the upgrade process easier, and it can be loaded with different Bios’s for increased functionality.
I have included both methods here for those who prefer not to solder.
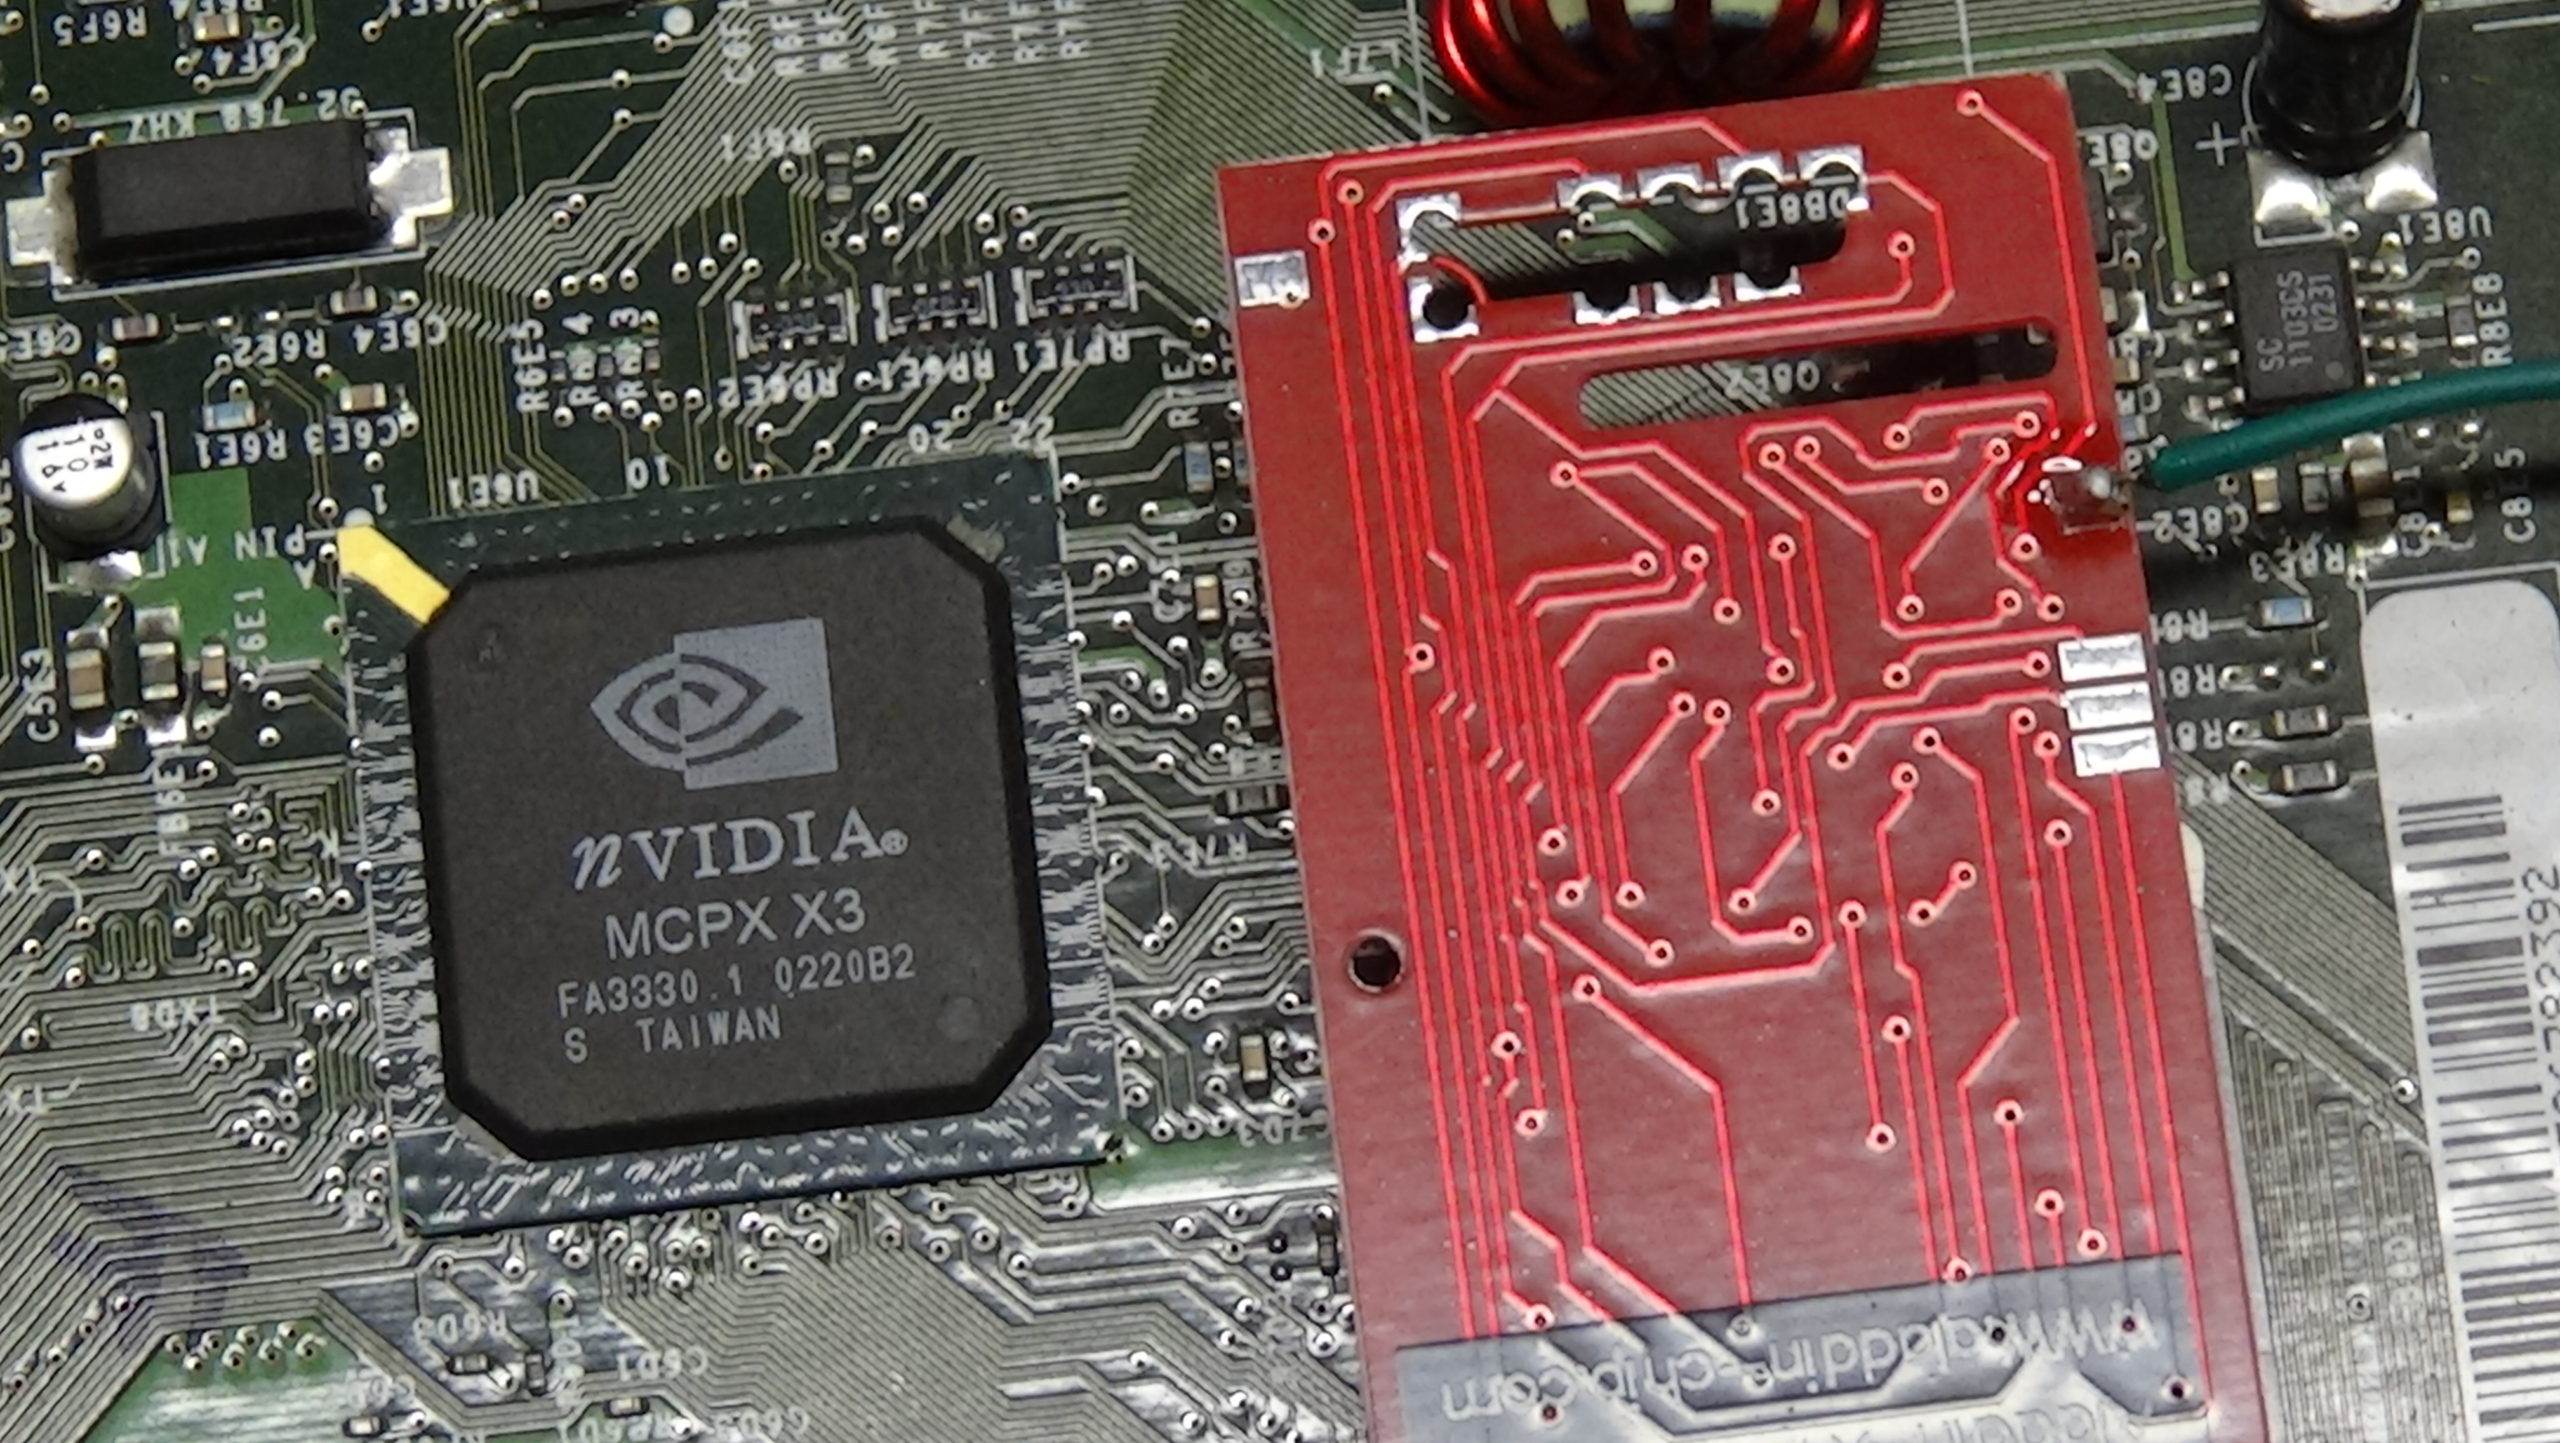
Xbox Modchip Install


Start with the XBOX upside down. There are 4 rubber feet attached to the bottom that will need to be peeled off in order to access some screws. The silver sticker in the top right also has a screw underneath it. All of the screws on the bottom are need a T20 Torx bit. Once you have all of the screws out flip the XBOX right side up and lift the top cover off.
The top should come off fairly easily however you may have to pry at the vents on each side to get it to loosen. There are 3 T10 screws surrounding the hard drive that will need to be removed. Remove the 4 T15 screws on the HDD caddy. Disconnect the IDE/power cable and the ATX cable from the motherboard.
You should also remove the yellow DVD drive cable and the front panel connector, as well as the fan cable. If this is your first time removing the cables it will be very tight and may require quite a bit of finagling to remove. Remove the 2 T10 screws from the power board and lift it out.
Lastly there are eleven screws you will want to remove from the motherboard. These can be a bit tricky to find so make sure you remove all 10 before you lift you attempt to lift the motherboard out!
You will have to check which version of motherboard you have. This is best done by looking at the video chip; it will be either a Focus, Conexant, or Excalibur chip.
If you have a newer 1.5/1.6 Xbox, you will need to restore the LPC port if you wish to do a hardware mod. This is an additional headache that is best avoided by sticking with an older Xbox, if you can still find one.
Xbox Modchip Availability


Sadly, most of the mod chips of yesteryear are no longer being produced, so finding anything other than an Aladdin clone will probably cost you quite a bit of coin.
Really, the Aladdin clones are good enough for most uses as they have support for a 256kb BIOS. There are quite a few different BIOS files available for the Xbox and you can generally find one that does what you want regardless of the size. That said, some of the larger BIOS files will not be compatible with the more commonly found Aladdin so if you are looking for a BIOS with specific features you may have to shell out for a more expensive variant.
Another drawback to the Aladdin chips is that they don’t have the capability to support an LCD screen, which was one of the more unique features of the original Xbox mod chips. Various forums have some newer and more capable chips still for sale if this is something you’re interested in.
Xbox Clock Capcitor Removal

If you are going through the trouble to take apart and mod your Xbox, i would highly advise that you remove the clock capacitor. This giant cap is located in the bottom left area of the motherboard. This capcitor is of poor make/quality, and often is already leaking or on verge of doing so. After removal make sure you clean up any left over electrolytic fluid with isopropyl alcohol.
Note: If you have a 1.6 Xbox then you can ignore this step.
Softmod/TSOP FLASH
If you are adverse to soldering than the TSOP flash may be a more ideal method for you. The TSOP flash is essentially just a softmod and requires no internal hardware modifications.
As of this writing, it is possible to softmod any version of Xbox, even a 1.6. You will need 1 of the following games: Tony Hawk 4, 007: Agent Under Fire, Splinter Cell, or MechAssault. You will also need an Xbox controller to USB adapter & a softmod save file.
A compatible flash drive is also required. These can be a bit tricky to find as the original Xbox is USB 1.1 only. Your best bet is to look for an older 512 MB flash drive. There are reports of SanDisk Cruzar 2.0 drives working as well. These drives are still readily available unlike older USB 1.1 variants so they may be the ideal solution. It is also possible to use an original PSP as well. Avoid USB 3.0 drives as they will not work.
Once you have all of these items, the rest is fairly straightforward. Start by connecting your USB drive to the Xbox and format it. After it’s done, plug it into a PC and use Xplorer360 and open your USB device via the interface. Drag/drop the required folders into the drive.
Plug the drive back into your console and power up without a game inserted. Go the memory menu and navigate to your drive. Copy the save file (whichever save you used depending on your game) to the hard drive and insert the game. When you start the game it will ask which profile you would like to load. Look for one titled “Linux” and press the A button 3 times.
If it worked you should get a loading screen and a menu. I recommend backing up your C: drive for safety’s sake or you can just select “install softmod” to advance and backup your EEPROM/install the mod. After you restart you should be able to ftp into your Xbox via programs like FileZilla and copy over your homebrew.